How to Repot Venus Flytrap: 3 Tips to Mix Peat Moss, Perlite and Sand
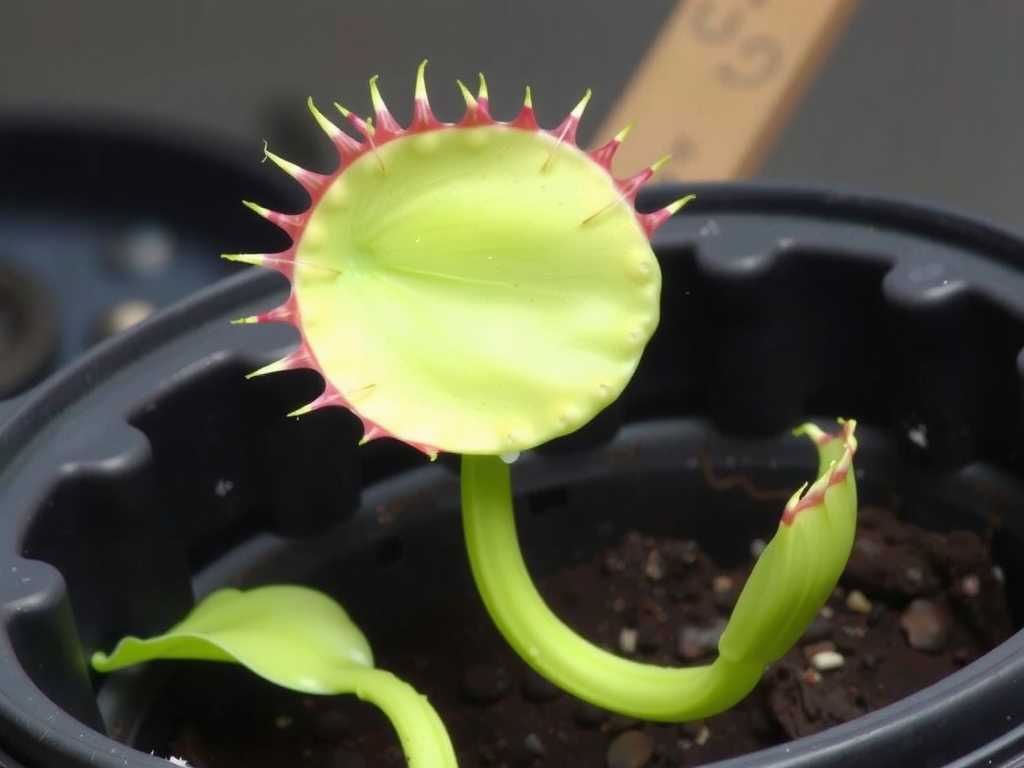
You’ve nurtured your Venus flytrap, watched it snap shut on unsuspecting prey, and now it’s outgrown its home or the soil looks exhausted. Repotting this fascinating carnivorous plant can feel daunting. The biggest fear? Using the wrong soil and accidentally killing your unique plant with kindness. Ordinary potting mixes are toxic to Venus flytraps, as the minerals and nutrients they contain will burn their sensitive roots and lead to decline. The secret to a thriving flytrap lies in replicating its native, nutrient-poor bog environment. This guide will walk you through the exact process, focusing on the critical foundation: how to mix peat moss, perlite, and sand to create the perfect, well-draining, acidic medium your plant craves.
Why the Right Soil Mix is Non-Negotiable

Venus flytraps (Dionaea muscipula) are native to a very specific region: the subtropical wetlands of the Carolinas in the United States. They grow in sandy, waterlogged, and highly acidic soils that are extremely low in nitrogen and other minerals. Their roots have evolved to absorb water, not nutrients. They obtain necessary nutrients primarily from the insects they catch. According to the International Carnivorous Plant Society, using a standard potting mix, garden soil, or compost is the most common cause of failure for beginner growers. These materials contain fertilizers and minerals that cause root burn, leading to stunted growth, blackened leaves, and eventual death. Therefore, creating a custom blend that is inert, acidic, and fast-draining is not just a suggestion—it’s essential for survival.
Essential Materials for Repotting Success
Before we dive into the mixing tips, let’s gather your supplies. Using the correct materials is half the battle.
- Pot: A deep pot (at least 4-6 inches) with excellent drainage holes. Glazed ceramic, plastic, or resin are ideal. Avoid terra cotta, as it can leach harmful minerals.
- Soil Components:
- Sphagnum Peat Moss: This is the acidic base of your mix. Ensure it is pure sphagnum peat moss with no added fertilizers or wetting agents.
- Horticultural Perlite: This white, lightweight volcanic glass provides crucial aeration and prevents soil compaction.
- Horticultural Sand: This must be coarse, sharp, or silica sand. Never use beach sand, play sand, or construction sand, as these contain salts, lime, and fine particles that will smother roots. The grit from sand is vital for drainage.
- Water: Distilled water, reverse osmosis (RO) water, or rainwater only. Tap water contains dissolved minerals that will accumulate and kill your plant over time.
- Tools: Gloves (peat moss is acidic), a large mixing bowl, and a small trowel or spoon.
Tip 1: Master the Core Ratio and Mixing Technique
The standard, proven ratio for a Venus flytrap potting mix is a simple 2:1:1 blend.
- 2 parts Sphagnum Peat Moss
- 1 part Perlite
- 1 part Horticultural Sand
This recipe balances moisture retention (from the peat) with impeccable drainage and aeration (from the perlite and sand). To mix it effectively, follow this process:
- Moisten the Peat Moss: Dry peat moss is hydrophobic—it repels water. Place your measured peat moss in a large bowl and gradually add distilled water, mixing thoroughly with your hands. Break up any large clumps. Aim for a consistency that is damp like a wrung-out sponge, not soggy.
- Add Perlite and Sand: Once the peat is evenly moistened, add the measured perlite and sand.
- Combine Thoroughly: Mix all components until you achieve a uniform blend. The white perlite and coarse sand should be evenly distributed throughout the dark peat. This ensures every root will encounter the same well-draining environment. A common mistake is layering these components; uniform integration is key.
Tip 2: Select and Prepare Each Component with Care
The quality of each ingredient directly impacts your plant’s health.
- Choosing Peat Moss: Look for brands that specify “sphagnum” and “no additives.” Pre-moistening, as described above, is the most critical step for ensuring even water distribution from the very first watering after repotting.
- Choosing Perlite: Standard horticultural grade is perfect. Rinsing it briefly with distilled water before mixing can reduce dust, but it’s not strictly necessary.
- Choosing Sand: This is where many go wrong. You need sand with large, sharp particles. A great alternative is horticultural quartz sand or pool filter sand (if it is silica-based). To test it, you can add a pinch of sand to vinegar; if it fizzes, it contains limestone and is unsafe. The grit provided by the coarse sand is essential for creating air pockets around the roots.
The Step-by-Step Repotting Process
Now, with your perfect soil mix ready, let’s repot.
- Prepare the New Pot: Cover the drainage holes with a small piece of plastic mesh or a coffee filter to keep soil in while allowing water to flow freely. Fill the bottom one-third with your prepared mix.
- Remove the Venus Flytrap: Water the plant in its old pot to loosen the soil. Gently turn it sideways, cradle the plant at its base, and ease it out. Carefully tease away as much of the old soil from the roots as possible using distilled water to rinse.
- Inspect and Plant: Examine the white, bulb-like rhizome and roots. Trim any black or mushy parts with sterile scissors. Place the plant in the new pot so the top of the rhizome (where the leaves emerge) sits just at the soil surface. The growing point must be above the mix.
- Fill and Settle: Gently add your custom soil mix around the roots, tapping the pot to settle it. Do not pack it down tightly.
- Water Thoroughly: Water from above with distilled water until it runs freely from the drainage holes. This helps eliminate air pockets and ensures the root ball is in full contact with the new, moist medium.
Tip 3: Post-Repotting Care for Optimal Recovery
Your job isn’t over once the plant is potted. Proper aftercare ensures a smooth transition.
- Light: Place the repotted plant back in its full sun location (4-6+ hours of direct sunlight daily) immediately. Bright light is crucial for recovery and energy production.
- Watering: Employ the tray watering method. Place the pot in a saucer or tray and keep about 0.5 to 1 inch of distilled water in it at all times. This mimics the bog conditions and allows the plant to draw water from below. Never let the soil dry out completely.
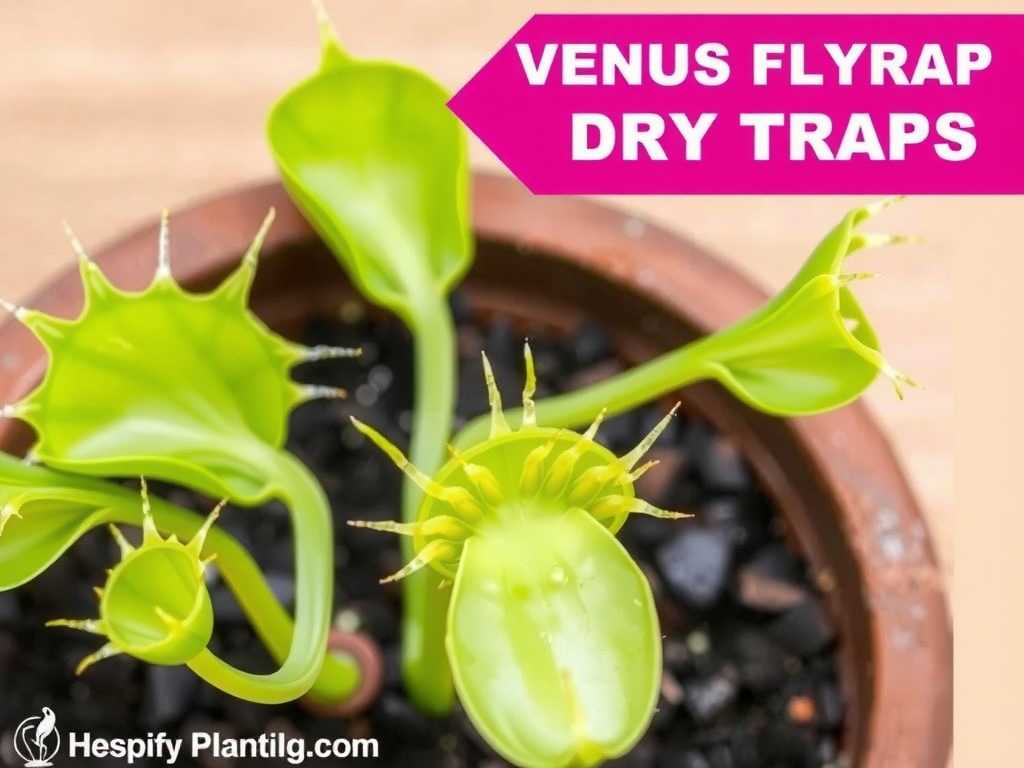
- Acclimation: The plant may experience some shock—a few leaves turning black is normal. Do not fertilize the soil or feed it insects for at least 3-4 weeks while it establishes new roots. Focus on providing perfect light and water.
Maintaining Your Venus Flytrap Long-Term
With the right soil established, long-term care becomes straightforward. Always use mineral-free water. During winter, the plant will enter a dormancy period for 3-4 months, signaled by slower growth and smaller leaves. It still needs light and slightly damp soil, but can be kept in a cooler location (around 35-50°F). Come spring, it will regrow vigorously from its healthy rhizome, anchored in your perfectly blended soil.
Frequently Asked Questions
Can I use just peat moss alone for my Venus flytrap? While possible, it’s not ideal. Pure peat moss can compact over time, reducing oxygen to the roots and retaining too much water, which may promote rot. The addition of perlite and sand creates a more durable, open structure that mimics the natural sandy bog habitat more closely, promoting healthier root systems.
How often should I repot my Venus flytrap? A general rule is to repot every 1-2 years, preferably in early spring as the plant exits dormancy. Repotting is necessary to refresh the soil medium, which can break down and become compacted, and to provide room for a growing rhizome. If you see roots circling the bottom of the pot or the soil looks degraded, it’s time.
My new soil mix looks very dry on top even with water in the tray. Is this a problem? Not at all. This is a sign of good surface drainage. The key is that the lower portion of the pot, where the roots and rhizome are, remains consistently moist via the capillary action from the water tray. The top layer drying out helps prevent fungal growth and crown rot. Always judge moisture by checking the water level in the tray, not just the soil surface.
Repotting your Venus flytrap with a carefully mixed blend of peat moss, perlite, and sand sets the stage for years of fascinating growth. By understanding the why behind the soil recipe and following the precise mixing and care steps, you move from simply keeping the plant alive to enabling it to truly thrive. This process empowers you to provide the foundational care this extraordinary carnivorous plant requires, turning a moment of gardener’s anxiety into a confident step toward long-term success.
")
发表评论