How to Repot Venus Flytrap: 4 Tips to Monitor New Root Growth
You’ve carefully chosen the perfect soil, gently handled the delicate white rhizome, and settled your Venus flytrap into its new pot. The repotting process feels complete, but a silent question lingers: Is it actually working? Beneath the soil surface, the most critical phase is just beginning—root establishment. Without healthy new root growth, your plant cannot absorb water or nutrients, leading to a slow, puzzling decline. Simply waiting for new leaves isn't enough; you need to know what’s happening underground. This guide moves beyond the basic steps of repotting to answer your real concern: how can you confidently monitor and ensure successful root recovery? We will focus on four practical, non-invasive tips to track new root growth, giving you the assurance that your repotting effort was a true success.
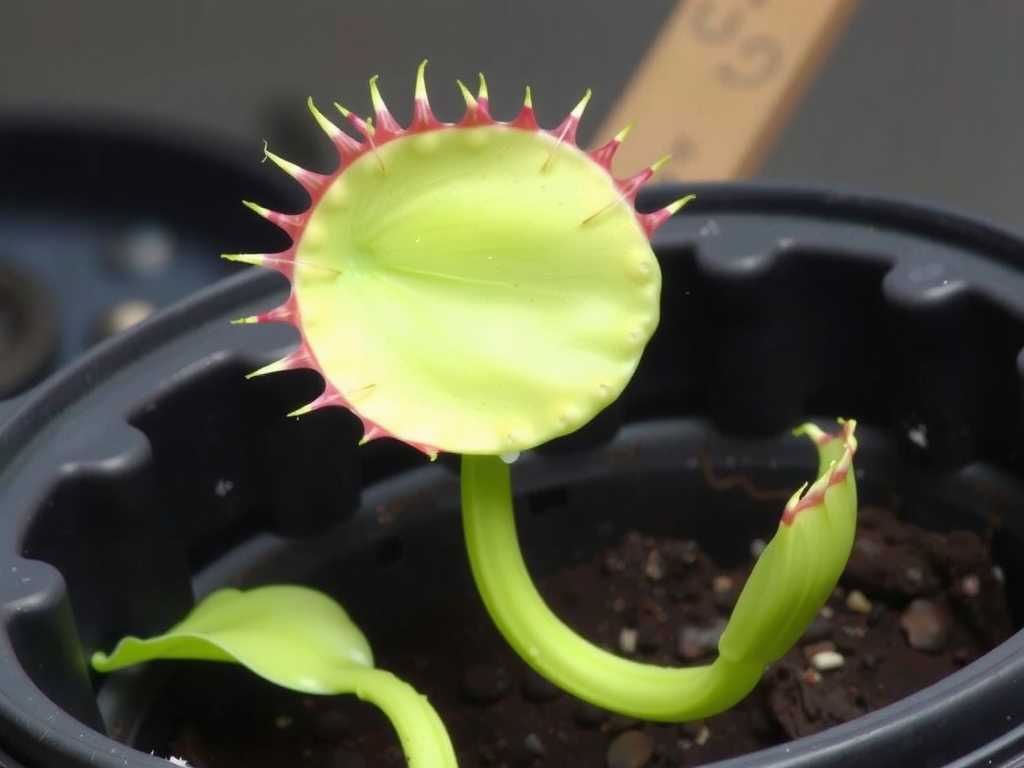
Understanding the Venus Flytrap Root System: What You’re Looking For

Before you can monitor growth, you must know what a healthy Venus flytrap root system looks like. Unlike many houseplants, flytraps have a sparse and fragile root structure. Their primary function is anchorage and water uptake, not extensive nutrient foraging. The roots are typically thin, fibrous, and white or light brown when healthy. During repotting, you may have seen the small, bulbous white rhizome—this is the underground stem from which both leaves and roots grow. New root growth will emerge from this rhizome as pale, hair-like filaments. It’s crucial to manage expectations; growth will be modest and slow, especially during cooler months or if the plant is repotted while dormant. Renowned carnivorous plant botanist Dr. Barry Rice notes in his book Growing Carnivorous Plants that “the root system of a Dionaea muscipula is surprisingly delicate for such a vigorous plant,” emphasizing the need for gentle care and patience post-repotting.
Tip 1: Observe Above-Growth Cues as a Root Health Indicator
The most reliable and safest way to infer root activity is by closely observing the plant’s visible parts. New root growth fuels new leaf production. Therefore, your first and most important tip is to watch for sustained, healthy new leaf emergence.
- The Initial Pause: Immediately after repotting, expect a period of 1-3 weeks with little to no growth. The plant is directing all energy below the soil. This is normal and not a cause for alarm.
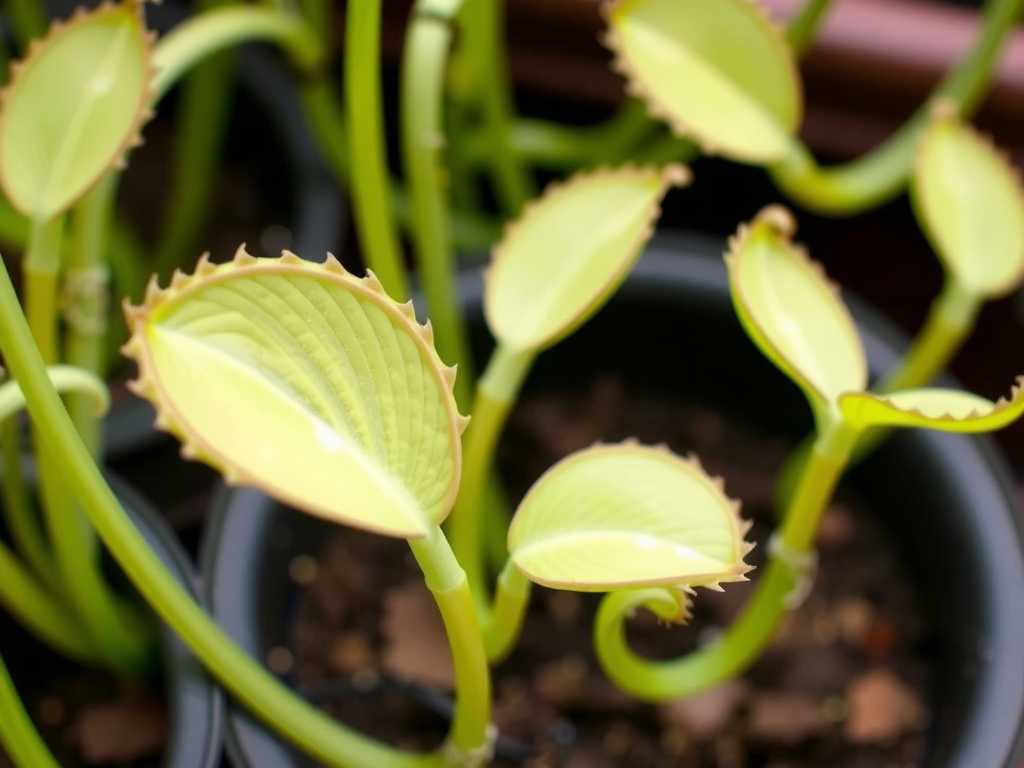
- Signs of Success: The clearest signal of successful root establishment is the consistent production of new traps from the center of the plant. These new leaves should appear firm, brightly colored (often with more intense red pigmentation inside the traps under good light), and grow to a normal size. The appearance of 2-3 completely new, full-sized leaves after the initial pause is a strong indicator that the roots are actively functioning.
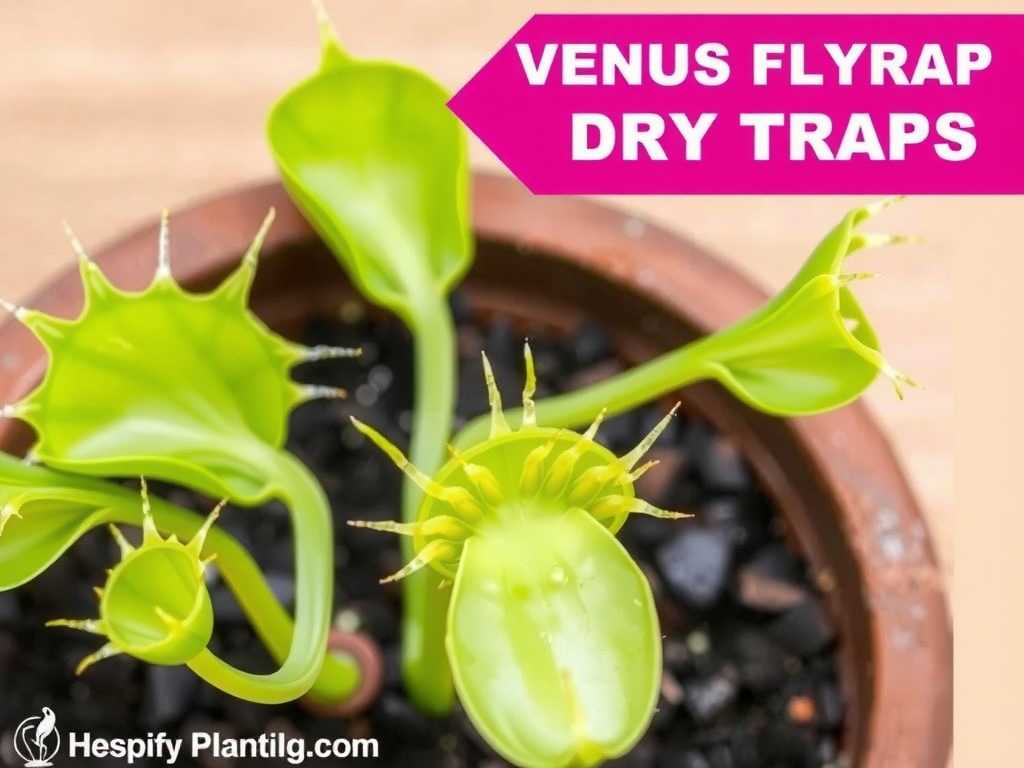
- Red Flags: Conversely, if new leaves emerge but are consistently stunted, pale, or wither before fully developing, it may point to a root system struggling to establish. This could be due to soil compaction, root rot beginning, or an unsuitable potting mix hindering new root growth.
Tip 2: Employ the Gentle “Tug Test” (With Extreme Caution)
This method requires a light touch and should be used sparingly—no more than once, 4-6 weeks after repotting. The goal is not to uproot the plant but to feel for resistance, which indicates root anchorage.
- How to Perform It: Wait until the soil is moderately damp. Gently place your fingers at the base of the plant, near the soil line. Apply a very slight, upward tug—just enough to feel tension. You should feel a faint resistance if new roots have begun to hold the plant in place.
- Critical Warning: If the plant lifts easily from the soil, stop immediately. Do not pull further. This indicates insufficient root growth. Simply firm the soil back around the base and give it more time. This test is about sensing subtle resistance, not verifying a strong hold, which takes many months to develop.
Tip 3: Monitor Soil Moisture Dynamics for Root Activity
The watering habits of your repotted Venus flytrap can reveal hidden clues about its root health. A developing root system will start to utilize water more efficiently.
- The Baseline: After the initial thorough watering post-repotting, the soil in a pot without active roots will dry out primarily through surface evaporation. The drying pattern will be uniform from top to bottom.
- The Change to Watch For: As new roots grow and begin to take up water, you may notice the top layer of soil drying slightly faster between waterings. This is because the roots are now actively pulling moisture from the surrounding medium, not just the surface. While you must always keep the plant in its characteristic damp conditions (using distilled or rainwater), a slight increase in the rate of water uptake can be a positive sign of functional roots. A moisture meter can help track this change objectively without disturbing the plant.
Tip 4: Ensure Optimal Conditions to Fuel Root Development
You cannot force roots to grow, but you can create the perfect environment to encourage them. Monitoring your care conditions is an indirect but vital tip for ensuring root success.
- Light as the Ultimate Driver: Intense light is non-negotiable. Provide a minimum of 6 hours of direct sunlight daily or equivalent high-intensity artificial light. Photosynthesis creates the energy needed for all new growth, including roots. A plant in low light lacks the resources to invest in its root system.
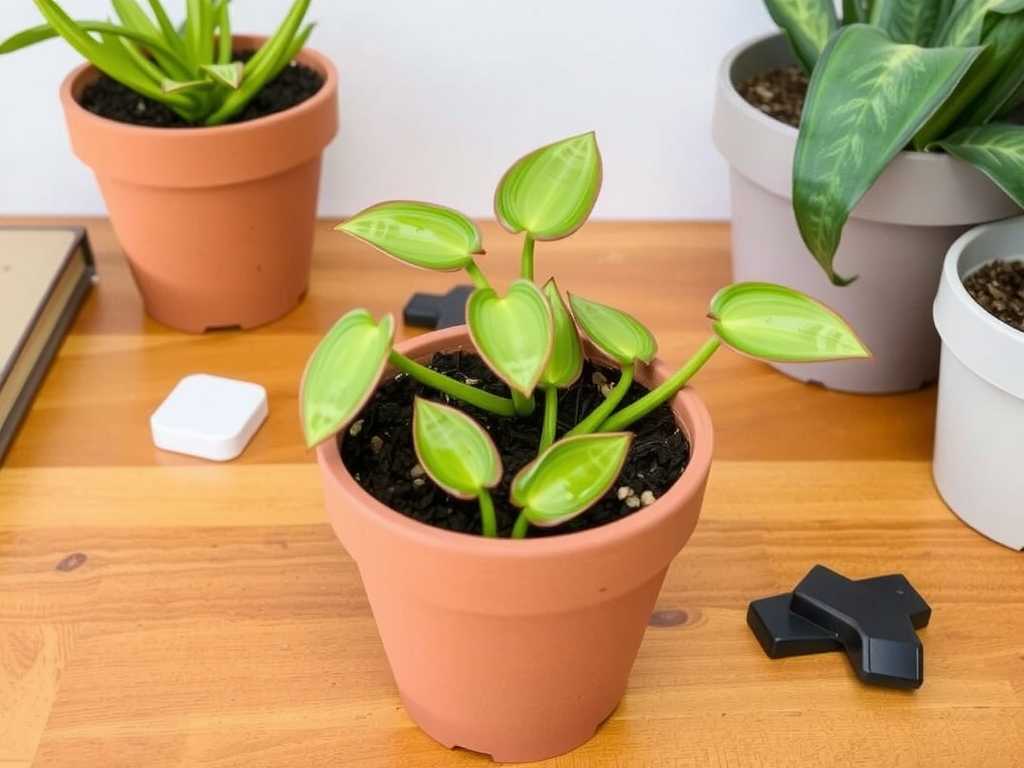
- The Right Water, Consistently: New roots are highly sensitive to minerals and chemicals. Water exclusively with distilled, reverse osmosis, or rainwater. Standing in a shallow tray of this water (the tray method) provides consistent moisture, encouraging roots to grow downward toward the reliable water source.
- Patience Over Action: Resist the urge to fertilize, poke, or repot again. Venus flytraps acquire nutrients from insects, not soil or fertilizer. Soil fertilizers will burn new roots and halt progress. Trust the process and give your plant a full growing season to recover and establish itself.
Addressing Common Concerns After Repotting
Why hasn’t my repotted Venus flytrap grown any new traps yet? A period of stagnation for several weeks after repotting is completely normal. The plant is in “root recovery mode,” dedicating its energy below the soil. Ensure it has intense light and pure water. Growth will resume from the center once the roots have adequately reestablished.
")
I accidentally damaged some roots during repotting. Will my plant survive? Yes, it likely will. Venus flytraps are resilient. While their root systems are delicate, the plant can recover from minor damage. The key is to provide flawless aftercare: optimal light, clean water, and high humidity. Do not disturb the plant further, and it will prioritize healing and generating new roots.
How long does it take for a Venus flytrap to become fully established after repotting? You can expect to see signs of new leaf growth (indicating root activity) within 4-8 weeks under ideal spring/summer conditions. However, for the plant to be fully settled and showing vigorous growth, allow for an entire growing season. Repotting is a significant event for the plant, and a full recovery is a marathon, not a sprint.
Successful repotting is measured not by the day you move the plant, but by the weeks that follow. By shifting your focus from the act itself to the critical establishment phase, you empower yourself as a caretaker. Monitoring new root growth doesn’t require digging; it demands attentive observation of leaf vitality, subtle cues from soil moisture, and the patience to provide unwavering, optimal conditions. When you see those first robust, new traps unfurling from the center, you’ll have the direct evidence—your Venus flytrap, firmly anchored and thriving, has successfully built a new foundation beneath the surface.

发表评论