How to Repot Venus Flytrap: 5 Tips to Skip Plastic for Terra Cotta Pots
You’ve nurtured your Venus Flytrap, watched it snap shut on unsuspecting prey, and now it’s outgrowing its home. The thought of repotting might feel daunting. What if you damage those sensitive roots? What if it goes into shock and never recovers? Many plant owners stick with the familiar plastic nursery pot, unaware that their choice of container could be the very thing holding their carnivorous companion back from thriving. The common plastic pot, while convenient, can create a hostile environment for these unique bog plants, leading to root rot, poor soil aeration, and frustratingly slow growth.
This guide is your solution. We’re moving beyond the basics to explore why a simple switch from plastic to terra cotta can be transformative for your Venus Flytrap. By following these five focused tips, you’ll learn not just how to repot a Venus Flytrap, but how to do it in a way that leverages the natural benefits of unglazed clay. This approach directly supports the plant’s need for a moist yet breathable root zone, mimicking its natural habitat more closely than plastic ever could. Let’s dive into the benefits of terra cotta pots for carnivorous plants and the step-by-step process to ensure a successful transition.

Why Ditch Plastic? The Science Behind the Switch
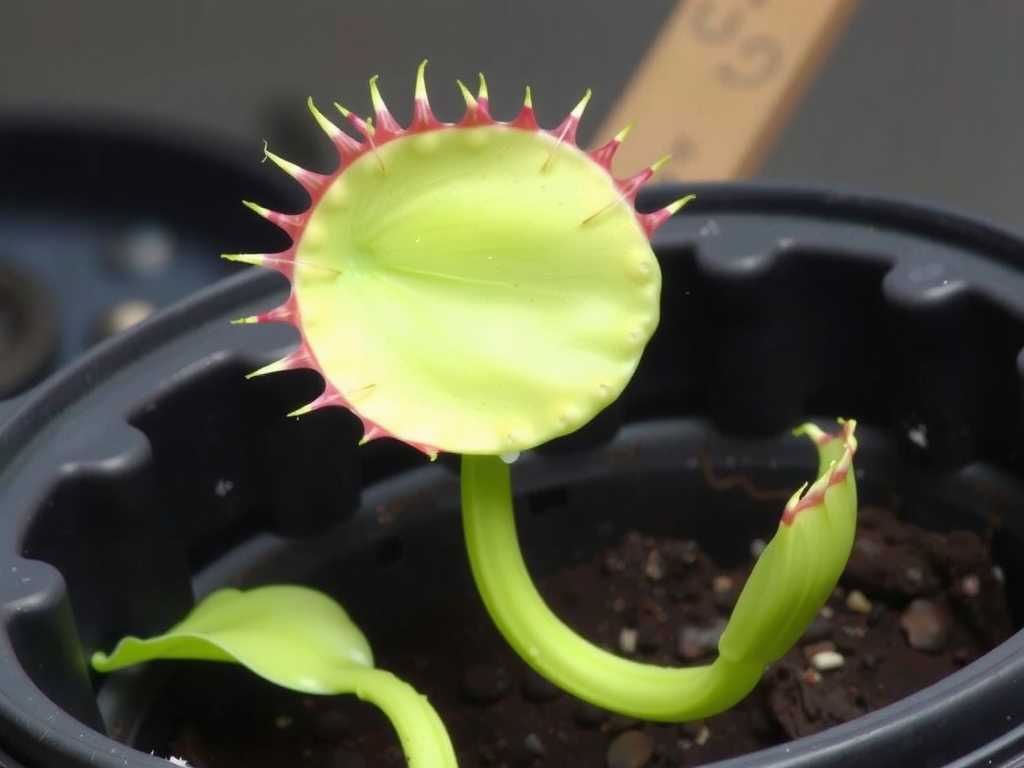
Venus Flytraps (Dionaea muscipula) are native to the nutrient-poor, sun-drenched wetlands of the Carolinas. Their roots are adapted to a specific environment: consistently damp soil with excellent oxygen flow. Plastic pots, especially darker ones, can trap heat and moisture, creating a stagnant, “soggy” root zone. As noted by the International Carnivorous Plant Society, poor drainage and lack of air circulation around the roots are primary causes of failure in cultivated flytraps.
Unglazed terra cotta, in contrast, is porous. It “breathes,” allowing excess moisture to evaporate through the walls of the pot. This process, known as transpiration, naturally cools the root ball and prevents water from becoming stagnant. It creates a more stable moisture gradient—wet at the core where the roots are, but drier at the edges—which encourages healthy root growth and significantly reduces the risk of fungal infections and root rot. Choosing terra cotta isn’t just an aesthetic preference; it’s a functional decision that aligns with the plant’s core physiological needs.
Tip 1: Timing and Preparation Are Everything
The single best time for repotting Venus Flytraps is in late winter or very early spring, just as the plant emerges from its dormancy period. At this stage, the plant is entering a natural growth phase and can recover from root disturbance much faster. Avoid repotting during full dormancy or the peak of summer heat.
Before you begin, gather your materials:
")
- An unglazed terra cotta pot that is 4-6 inches in diameter and at least 5-6 inches deep. Depth is crucial for their long, vertical roots.
- The correct soil mix: a 1:1 ratio of sphagnum peat moss and perlite or horticultural sand. Never use potting soil, compost, or fertilized mixes, as these will kill your plant.
- Distilled water, reverse osmosis water, or rainwater. Tap water contains minerals that are toxic to flytraps.
- A clean workspace.
Tip 2: The Gentle Art of Extraction and Root Inspection
Water your flytrap lightly a few hours before the operation to make the root ball more cohesive. Turn the existing plastic pot on its side and gently squeeze and wiggle to loosen the plant. Never pull on the traps or leaves. Tip the pot and let the plant slide into your hand.
Once free, carefully tease away the old soil from the roots. This is your chance to inspect the root system. Healthy roots are typically black and wiry. Rinse them gently with your prepared water if needed to see clearly. Trim away any soft, mushy, or clearly dead roots with sterilized scissors. This minor pruning encourages new, healthy growth in its new home.
Tip 3: Potting Correctly in Terra Cotta
Place a small piece of plastic mesh or a broken terra cotta shard over the drainage hole to prevent soil loss. Fill the new terra cotta pot about one-third full with your pre-moistened peat moss mix. Create a small mound in the center.
Position your Venus Flytrap so that the white, bulb-like rhizome (where the leaves emerge) sits just on top of the soil line. The key is to avoid burying the rhizome deeply. Spread the roots downward over your soil mound. Holding the plant in place, gently fill in around the roots with more soil mix. Tap the pot to settle the medium, but do not compact it tightly. The goal is airy, loose soil.
Tip 4: The Critical Aftercare Protocol
Immediately after potting, water your flytrap thoroughly from above with your mineral-free water until water runs freely from the bottom. This “waters in” the plant and eliminates large air pockets.
Place the repotted plant in a location with very bright, indirect light for the first 4-7 days. A spot with morning sun and afternoon shade is ideal. This recovery period minimizes transplant shock. Avoid feeding any traps for at least a month; the plant needs to focus its energy on re-establishing its root system. Resume its normal full-sun location and watering tray method (keeping the pot sitting in 1/2 inch of water) after this acclimation period.
Tip 5: Long-Term Advantages of the Terra Cotta Environment
Your switch to terra cotta pays dividends over time. The evaporative cooling effect helps regulate soil temperature during hot summers. The porous walls discourage the buildup of harmful mineral salts from water and fertilizer (though you should still never fertilize the soil). You’ll find it easier to maintain the “moist but not waterlogged” condition that is the holy grail of carnivorous plant care.
Monitor your plant more closely for the first few weeks, as terra cotta dries out faster than plastic. The need for slightly more frequent watering is a small trade-off for the vastly improved root health and vigor you will observe as your Venus Flytrap settles into its superior, breathable new home.
Frequently Asked Questions
-
How often should I repot my Venus Flytrap? Venus Flytraps benefit from being repotted every 1 to 2 years. This refreshes the acidic, nutrient-poor soil that inevitably breaks down and compacts over time. The early spring schedule aligns perfectly with this cycle, giving the plant a fresh start for each growing season.
-
Can I use other types of clay or ceramic pots? Unglazed terra cotta is the top recommendation due to its high porosity and affordability. Glazed ceramic or sealed clay pots, while attractive, function like plastic pots—they do not “breathe.” If you use them, you must be exceptionally careful with watering to prevent over-saturation, as they lack the evaporative benefits.
-
My repotted flytrap’s traps have turned black. Did I kill it? Not necessarily. It is very common for some existing traps to blacken and die after repotting due to the stress of root disturbance. This is the plant reallocating resources. Focus on the growth point at the center of the rhizome. If you see new, small green growth emerging, your plant is recovering successfully. Be patient and maintain proper care.
Repotting your Venus Flytrap is a rite of passage for any carnivorous plant enthusiast. By consciously choosing a terra cotta pot, you’re doing more than just giving it a larger space—you’re actively engineering a healthier root environment that mirrors its natural growing conditions. This simple material swap, combined with careful technique and attentive aftercare, builds resilience in your plant. You’ll be rewarded with a more vigorous Venus Flytrap, one that produces larger traps, recovers faster from dormancy, and stands a much greater chance of thriving for years to come. Embrace the change, skip the plastic, and let your flytrap’s roots breathe easy.

发表评论